
Machine embroidering hats is a fun way to customize them! So, with a few tips and the right tools, you can glam up your hats very easily. In this guide, we will tell you how to use a machine to make hats using embroidery, and we will make it really simple so that even 3rd graders can understand.
How to Choose the Right Embroidery Machine for Hat Embroidery
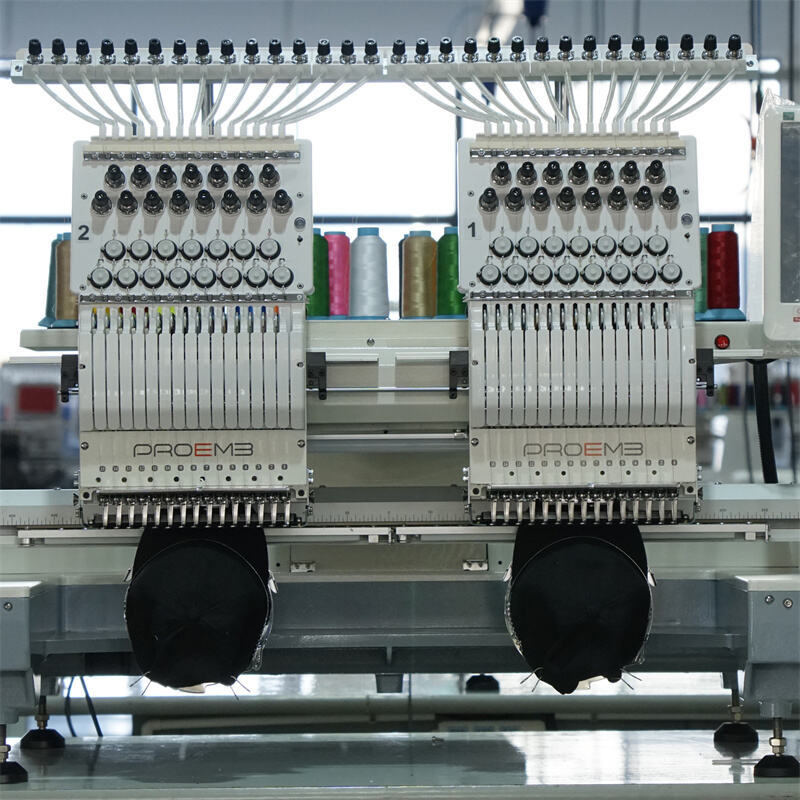
Embroidery on Hat: The Professional Grade hat embroidery machine PROEMB has plenty of machines that fit the bill. Find a machine that is small and easy to use, and has many designs you can choose from. Look for an area big enough to accommodate your hat.
Preparing Your Machine for Embroidery with Hats
Once you’ve selected your machine, it’s time to install it. First, you put the embroidery hoop on the machine, you put your hat in the machine. Center and tighten the hat in the hoop. Use the color thread you need in the machine, select the design you want to add to your base hat.
First you need to hoop and stabilize your hat.
That said: Gotta really hoop and stabilize your hat well for a good embroidery job. Place a piece of stabilizer inside the hat to support the stitches and help prevent the fabric from puckering. Hoop the hat making machine for sale and stabilizer together with care, ensuring that the fabric is flat and smooth. This makes sure that your design is neat and clean.
Making Your Design (Choose and Place for Embroidery)
Your hat is now prepared, now to choose and position your design. PROEMB plat embroidery machine offer many designs or you can create your own designs using special software. Use the touchscreen on the machine to choose and position your design on the hat. Verify the placement once more to ensure it’s correct before you start embroidering.
Tips for Great Hat Embroidery
Hats can be a tricky item to embroider, but these tips will help you do it right every time:
For hat embroidery, choose the appropriate needle and thread to ensure the strength of your stitches.
The only thing to note is to adjust your sewing machine tension a bit; otherwise you will get ridges in the fabric.
Take a test stitch on a scrap of fabric to check whether the design works.
Sew slowly, and take your time when embroidering to keep the stitches clean.
Keep that machine clean and oiled to help it run better.
So, with these simple steps and tips, you would be able to embroider a hat with the machine like a pro. Experiment with different designs and colors to make your hats unique. Keep on PROEMBing, and happy stitching!